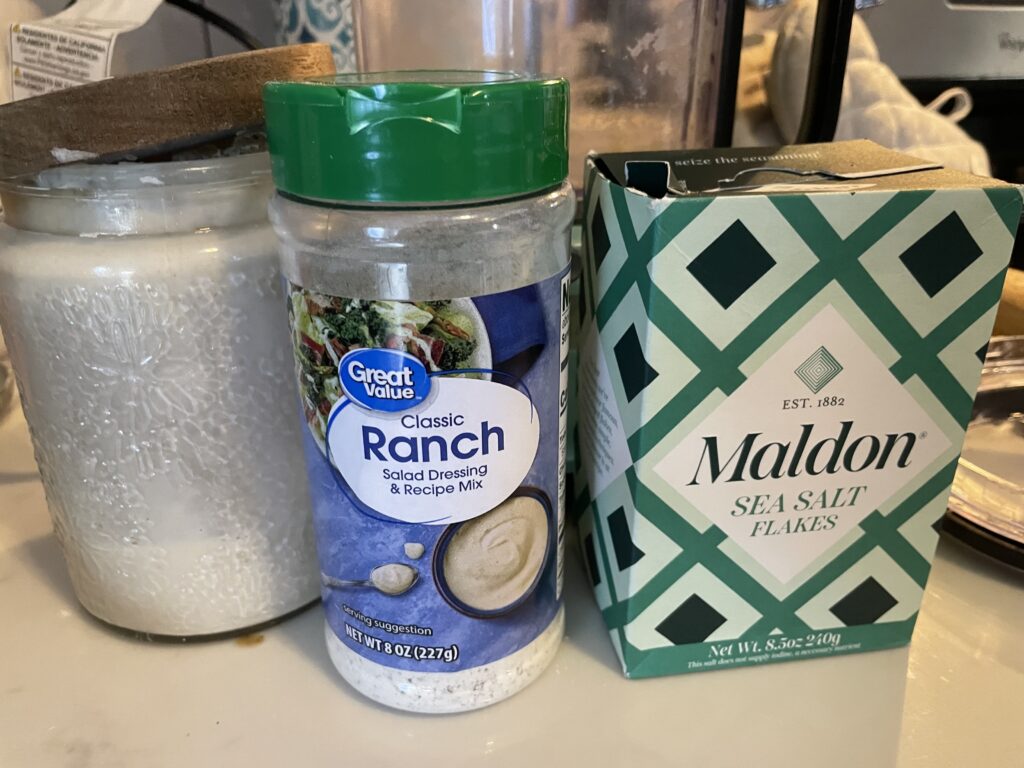
I do my best to avoid super processed foods. Don’t get me wrong, I still eat them, but I try harder and harder to avoid them the more I learn about the horrible ingredients they include! And now that I have a child, I pay way more attention to what’s in her food. But Cheez Its are my weakness, so when I thought about making them myself and leaving out all the awful ingredients, I knew I had to make a healthier copycat Cheez It recipe for my family and to share with yours!

And wow, did they turn out SO good. I’ve made so many batches of them at this point as I perfect my recipe, I’m a little addicted! The recipe for this copycat Cheez It recipe only includes ingredients you can actually pronounce. They’re the perfect snack for kids!
Ingredients Needed for this Copycat Cheez It Recipe
- Sourdough Starter Discard: The first ingredient needed for this Cheez It recipe is sourdough starter discard. If you make sourdough bread then this will be an easy ingredient for you. But if not, don’t worry! There is a super easy replacement, water and more flour, it’s as easy as that! Just use an extra half cup of flour (total of 1 cup) and 2 tablespoons of ice water.
- Shredded Cheddar: You can use pre-shredded cheddar cheese or shred it yourself. Getting a block of cheese and shredding it yourself always makes for a better taste, but if you don’t have that on hand or don’t want to take the time, then that’s okay too!
- Butter: Be sure to cut the butter into small chunks before adding it to the dough. I prefer to use Kerrygold butter for the best taste! It’s also known for being some of the best butter for you on the market. We switched to Kerrygold and never looked back.
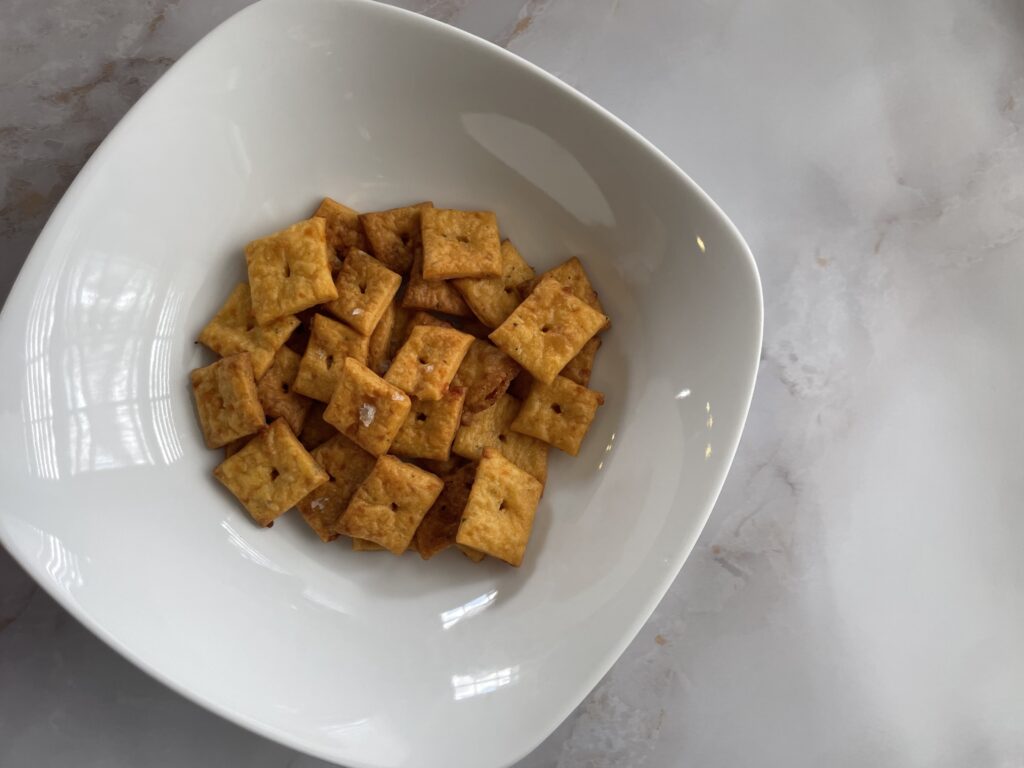
- Ranch Seasoning: The secret weapon in this copycat Cheez It recipe is Ranch Seasoning. For the easiest option for busy moms, use store bought ranch seasoning. But for the healthier option, make it yourself! Here’s a great homemade ranch seasoning recipe.
- Salt: Adding salt into the dough is optional, but whenever given the opportunity, I add salt. I just love salty flavor! But if that’s not your thing, then leave it out here!
- Flour: You can use all purpose flour or bread flour here. If you are a sourdough mama, then you’ll likely have bread flour on hand and you can definitely use it. I have used both and honestly don’t think it makes a difference!
- Sea Salt Flakes: Okay this is technically optional, but I think it should be required! What’s better than the perfect salty side of a Cheez It? I’ll wait 🙂 And flaky sea salt as opposed to regular salt makes all the difference. Here’s the sea salt flakes I buy from Amazon since it can be harder to find in stores. The next best option would probably be coarse sea salt if you don’t want to buy the fancy salt.
Baby Led Weaning for this Cheez It Recipe
Solid Starts recommends waiting until at least 12 months old to serve crackers and even then it depends on the texture of the cracker and the child’s skill level. I started giving these to my daughter around 1 year old only if I was watching her closely. By about 14 months I could trust her with them fully in safe environments. You know your child best and can tell when they are ready better than anyone.
Storage for this Cheez It Recipe
Be sure to keep them in an air tight container only after they have fully cooled. I leave them on the counter for at least an hour before putting them in the air tight container. They will stay fresh for at least a week, but with how addicting they are, you probably won’t have any left at that point.
Tools Needed for Making Copycat Cheez Its
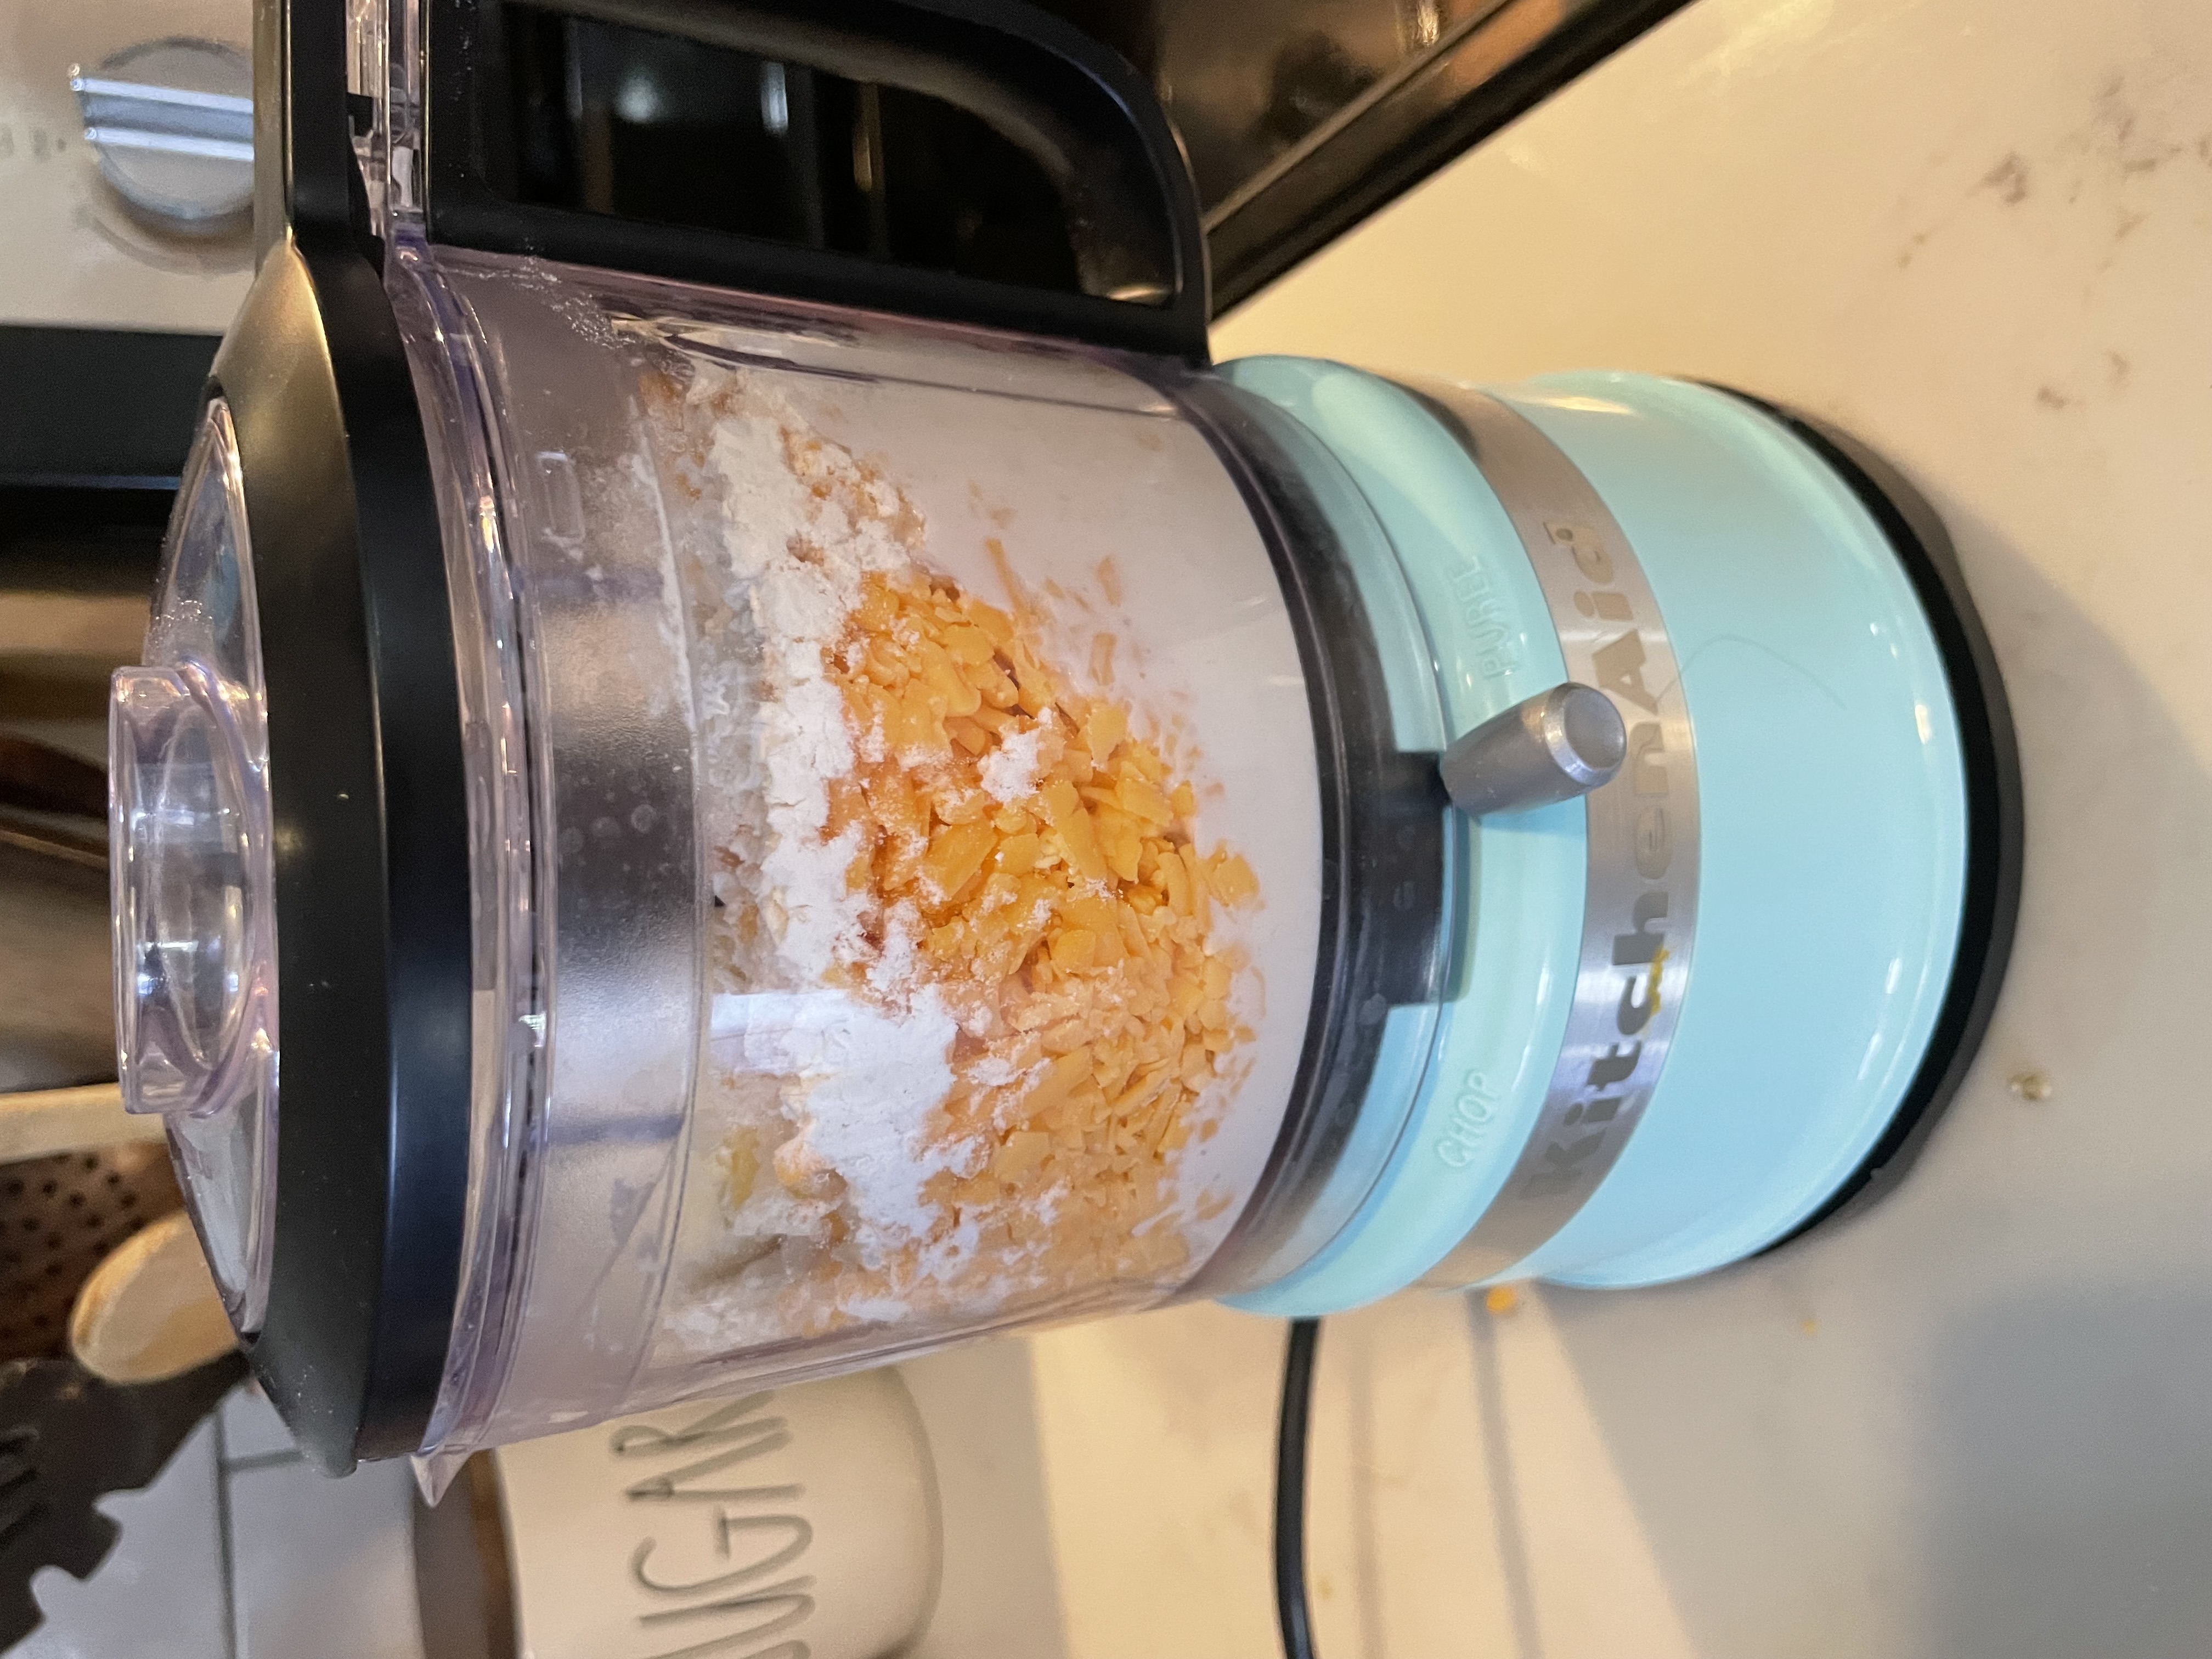
Food Processor: This KitchenAid 7 cup food processor is perfect for this recipe. I’ve tried using my 3.5 cup KitchenAid food processor and it technically fit…but it was mad at me for overloading it and started making a not pretty sound. So I definitely don’t recommend using one that small.
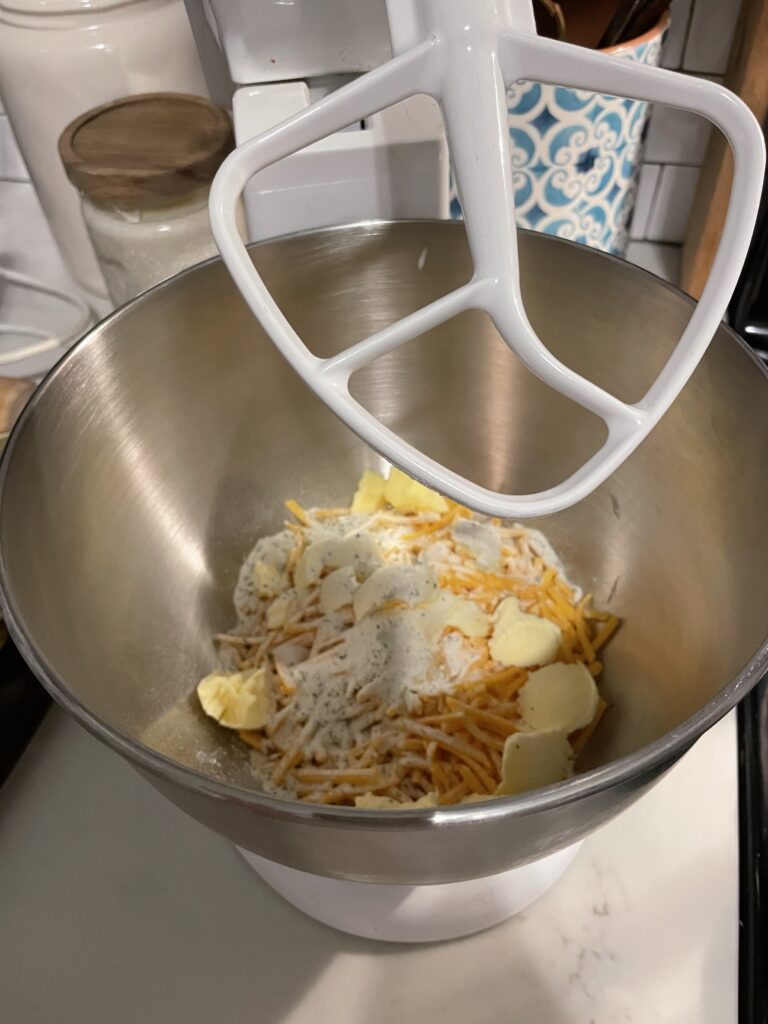
Stand Mixer: You will need either a food processor or a stand mixer for this recipe, and while the food processor definitely makes for a smoother dough, I don’t think the end result tastes any different! I am passionate about my KitchenAid mixer and think one belongs in every single kitchen! I may or may not have gotten mine on my 16th birthday…I know I was a little weird haha! But I have had it now almost half of my life and it is still going strong! I think it’s definitely worth the money.
Plastic Wrap: You’ll need some plastic wrap or a plastic storage bag to store the dough in the fridge for a bit.
Silicone Baking Mat: It is ideal to have a silicone baking mat for this Cheez It recipe because it makes rolling out the dough so much easier. Plus once you have one you’ll end up using it all the time and never realize how much you needed it until you have it!
Parchment Paper: If you don’t have a silicone baking mat then you can use parchment paper instead. It doesn’t roll out as easy but it is still possible. And while this may be obvious to most people, parchment paper and wax paper are NOT the same thing. I learned that the hard way several years back and like to warn others now.
Rolling Pin: You’ll need a rolling pin to roll out your dough. Of course you can get creative and use a wine bottle or something else similar that you might have around the house if necessary.
Pizza or Dough Cutter: In order to cut the squares, you’ll need either a pizza cutter or a dough cutter. The dough cutter will create the fun zig-zag edges but is definitely not necessary and a pizza cutter works just fine if that’s all you have.
Toothpick: You’ll need a toothpick or something pointy like that to create the little holes in the center of each cracker.
Copycat Cheez It Recipe
Ingredients
Method
- Add all ingredients except the flour and sea salt flakes to the food processor or stand mixer. See notes above for more information about the options.
- Combine until smooth. Then add in the flour and continue to mix until a dough has formed and everything is well blended.
- Wrap the dough in plastic wrap and leave in the fridge for 30 minutes. (If left longer it will still be okay just might need to rest on the counter for a few minutes.)
- Preheat the oven to 350°.
- Take half of the dough and lay it on your silicone baking mat (or parchment paper). Use a rolling pin to roll out the dough into a large rectangle the size of your silicone mat. The key to making crunchy crackers is getting the dough as thin as possible. If you leave the dough too thick the crackers will be chewy. Still super delicious, but not the crunch we are looking for.
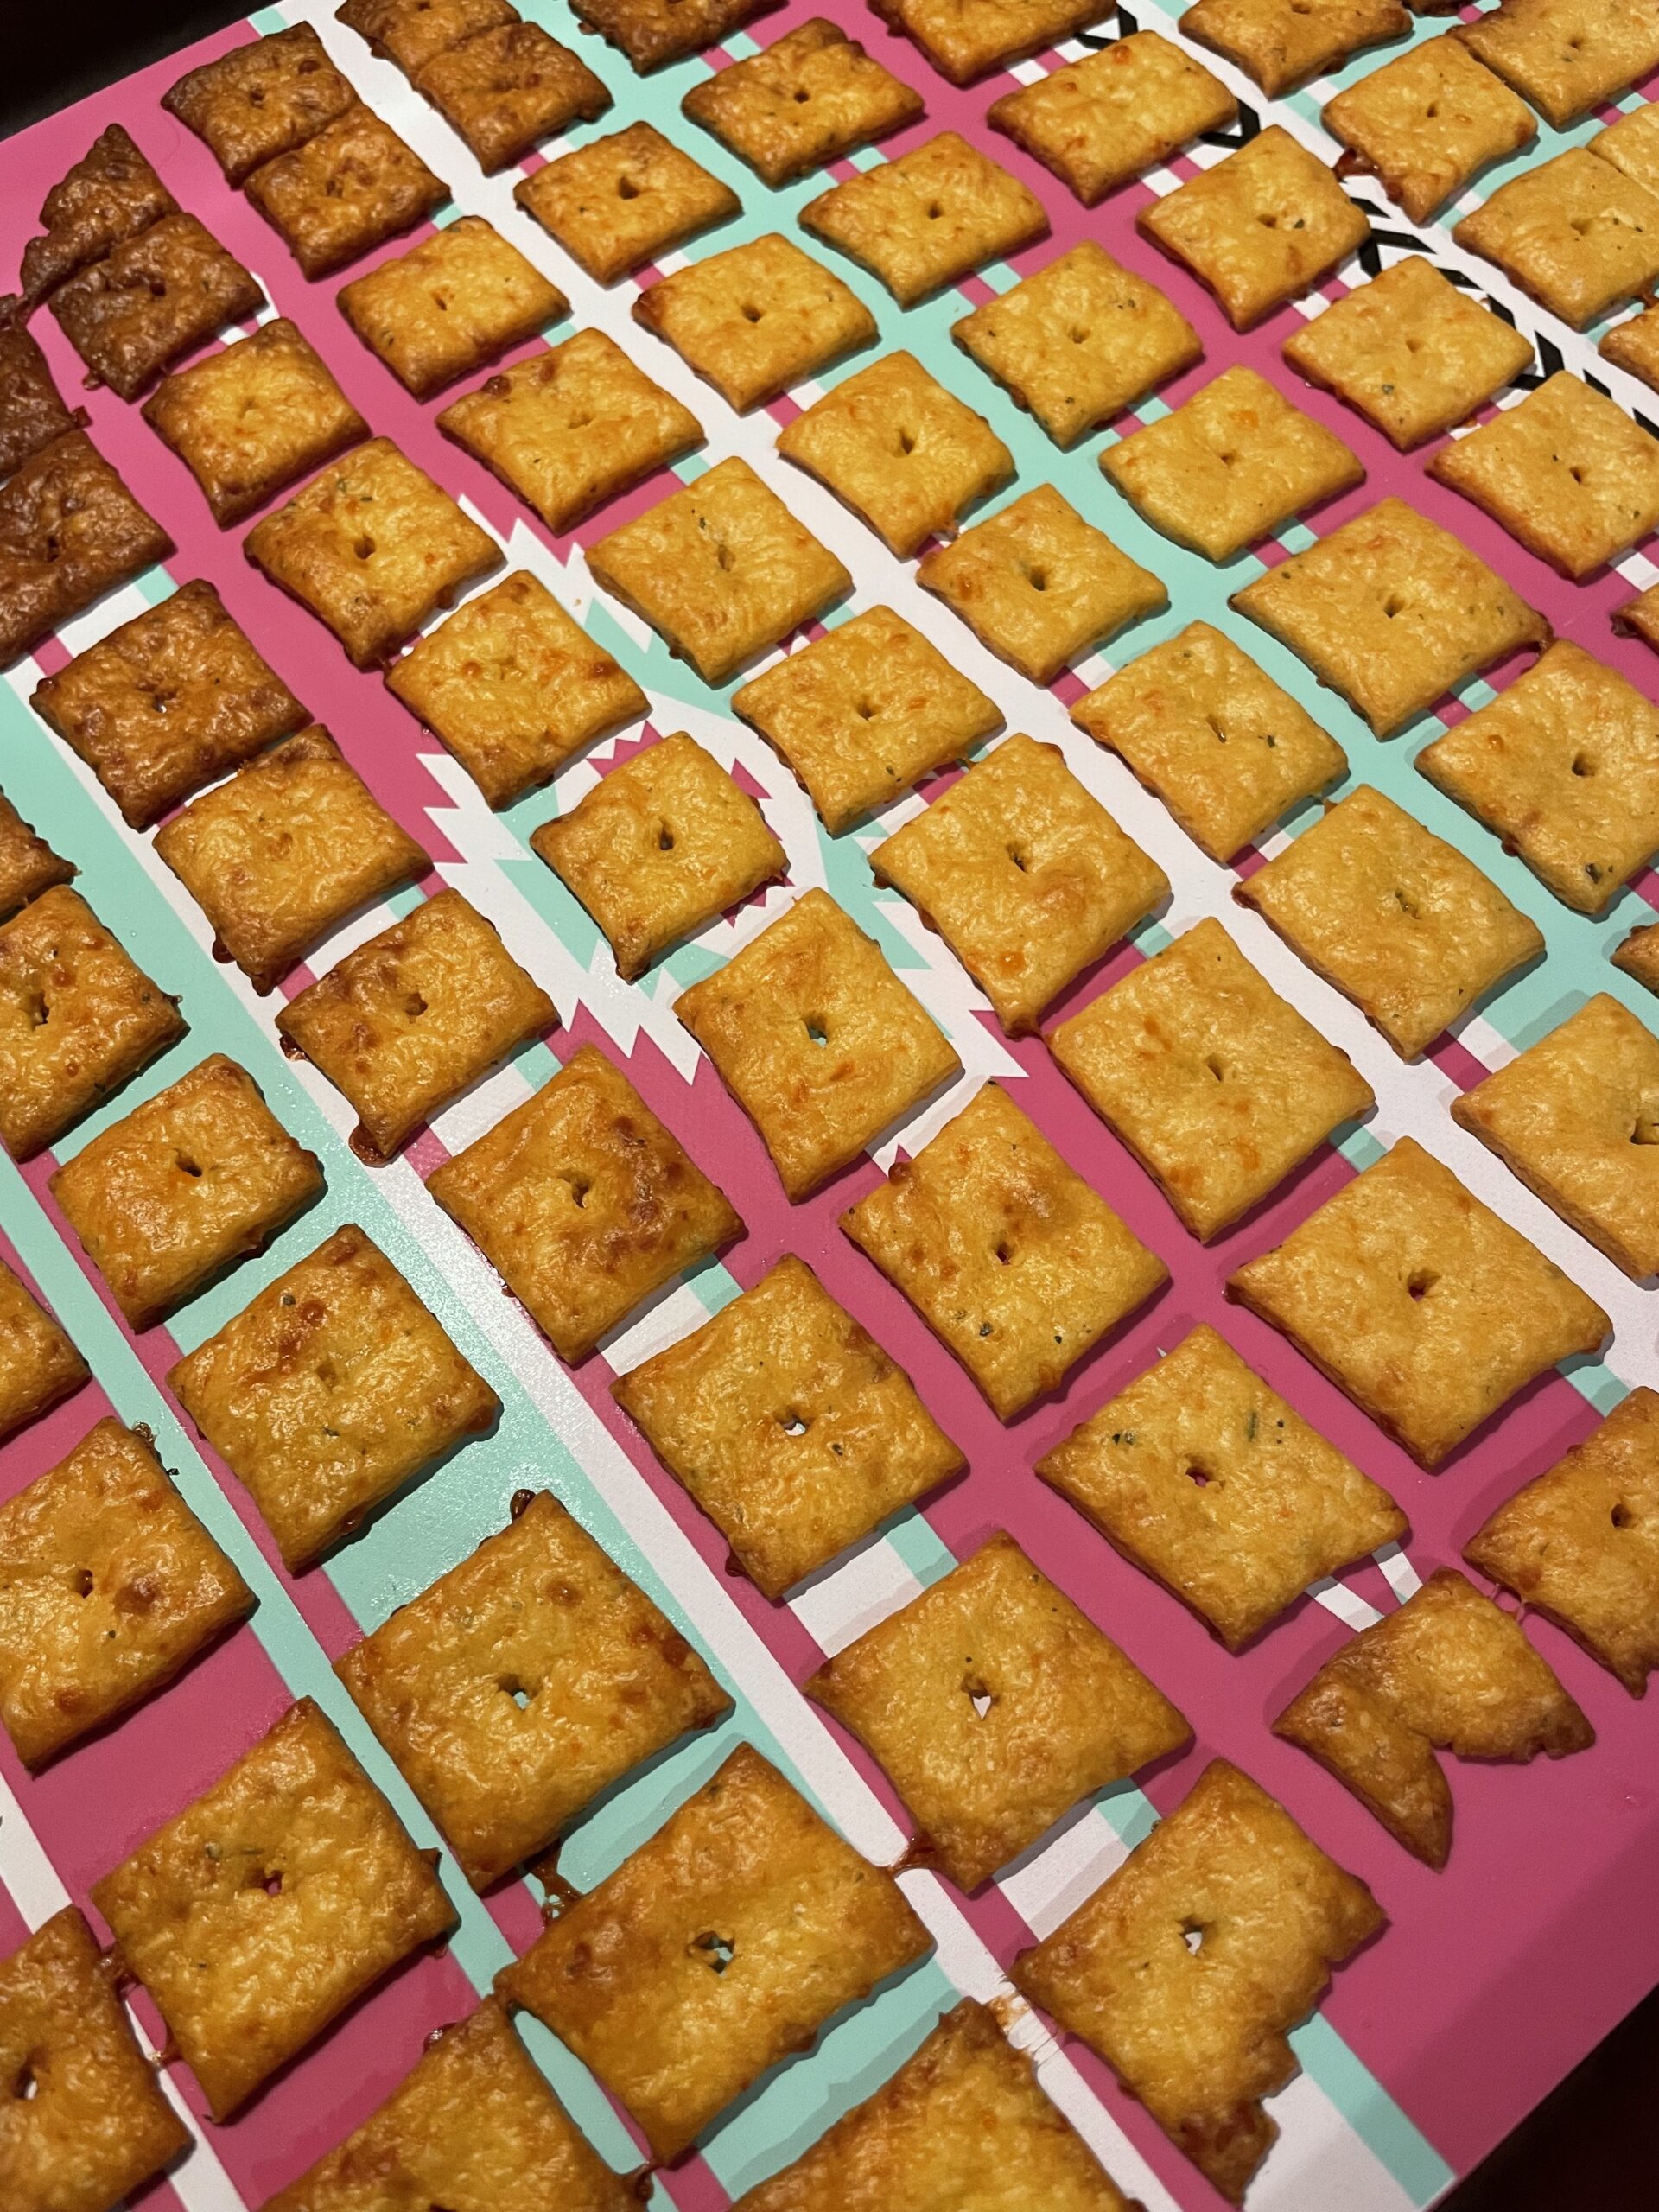
- Once the dough is super thin, use a pizza cutter or dough cutter to cut long strips going both directions, to end up with little squares the size of Cheez Its!
- Using a tooth pick, poke a hole in the center of each square.
- Top the dough with the sea salt flakes. Put the silicone mat on a baking sheet and bake for 12-16 minutes. The actual time will depend on your oven and on how thin you made the dough. Be sure to keep a close eye on the oven and watch for when they are ready. The crackers around the edge will get pretty dark before they are done in the center.
- If you are cooking both halves of the dough (on separate baking sheets) then be sure to rotate them half way through baking.
- Turn the oven off and leave the crackers in the oven with the door cracked open for about 15 minutes. This will help them dry out and get nice and crispy.
- Once the Cheez Its are completely cooled (after an hour or so, store them in an airtight container).
Save this Copycat Cheez-it Recipe on Pinterest!
